Table of Contents
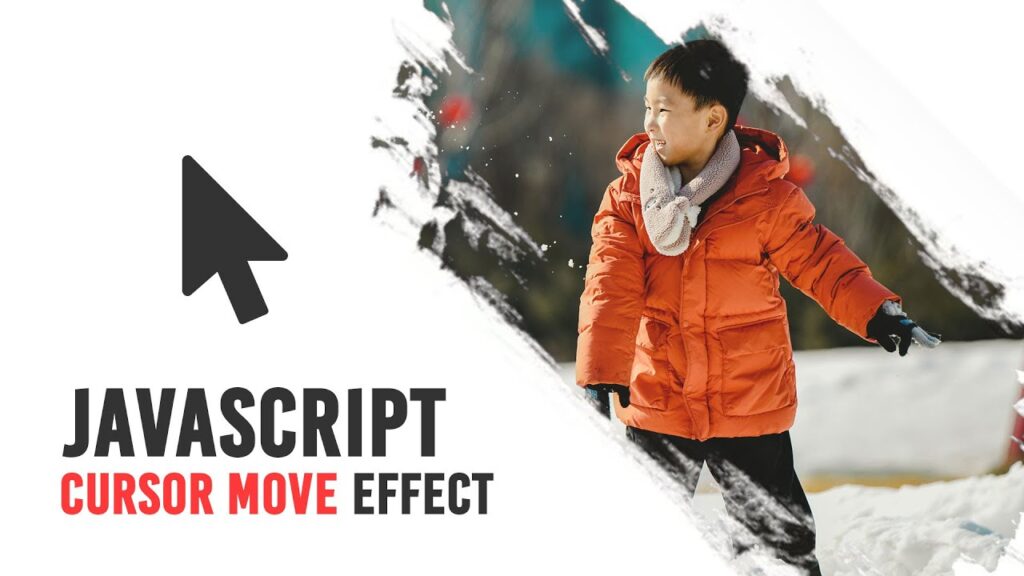
In the ever-evolving world of web design, small interactive elements can significantly enhance user experience. One such captivating feature is the JavaScript Cursor Move Effects. This effect adds a playful touch to your site by creating visual elements that follow the user’s cursor, making interactions more engaging. Let’s dive into how you can implement this effect using a simple HTML and CSS setup.
What Are Cursor Move Effects?
Cursor move effects involve creating animations or visual elements that respond to the user’s mouse movements. These effects can range from subtle animations to more pronounced visual changes, drawing the user’s attention and making the browsing experience feel more dynamic.
Implementing JavaScript Cursor Move Effects
Here’s a step-by-step guide to creating a basic cursor move effect using JavaScript:
Step 1: Setting Up the HTML Structure
First, we need a basic HTML structure. Below is a simple template that includes a script to handle the cursor movement.
<!DOCTYPE html>
<html>
<head>
    <title>Javascript Cursor Effect</title>
    <link rel="stylesheet" type="text/css" href="style.css">
</head>
<body>
    <script>
        document.addEventListener("mousemove", function(e) {
            let body = document.querySelector('body');
            let bubbles = document.createElement('span');
            bubbles.style.left = -75 + e.offsetX + 'px';
            bubbles.style.top = -75 + e.offsetY + 'px';
            body.appendChild(bubbles);
            setTimeout(function() {
                bubbles.remove();
            }, 1500);
        });
    </script>
</body>
</html>
Step 2: Adding Some CSS
Next, we’ll style the cursor effects using CSS. Here’s a simple stylesheet that will help create a visually appealing bubble effect that follows the cursor.
* {
    margin: 0;
    padding: 0;
}
body {
    overflow: hidden;
}
span {
    position: absolute;
    width: 150px;
    height: 150px;
    border-radius: 50%;
    background: url(image.jpg); /* Replace with your desired image */
    background-position: center;
    background-size: cover;
    background-attachment: fixed;
    pointer-events: none; /* Prevent interference with mouse events */
}
Step 3: Explanation of the Code
- HTML Structure: The
<script>tag in the body listens for mouse movements. Each time the mouse moves, it creates a new<span>element. - Positioning the Bubbles: The
leftandtopproperties position the bubble relative to the mouse pointer, creating a dynamic visual effect. - Removing Bubbles: The
setTimeoutfunction ensures that the bubble disappears after 1.5 seconds, keeping the interface clean. - CSS Styling: The CSS styles define the size, shape, and appearance of the bubbles, ensuring they look visually appealing.
Customization Ideas
To make your JavaScript Cursor Move Effects even more interesting, consider the following customizations:
- Color Changes: Change the bubble’s background color or image based on different sections of your webpage.
- Animation Effects: Add CSS animations to the bubbles for a more fluid experience, such as scaling or fading effects.
- Different Shapes: Experiment with different shapes and sizes for the bubbles to match your site’s theme.
Conclusion
Implementing JavaScript Cursor Move Effects is a straightforward yet impactful way to enhance user engagement on your website. With just a few lines of code and some creative styling, you can transform a simple mouse movement into a delightful experience. So why not give it a try and see how it elevates your web design? Happy coding!


